How Rot Develops in Cedar Siding
Wood rot is caused by fungi — specifically brown rot and white rot fungi — that digest the structural components of wood fibres. For rot fungi to become established, four conditions must be present simultaneously: moisture above about 28% by weight, temperatures above approximately 4°C, oxygen, and a food source (the wood itself). Of these, moisture is the only one practically controllable in exterior siding.
Eastern White Cedar contains natural preservative extractives that make it more resistant to fungal attack than many softwoods — which is why it is used for exterior applications in the first place. However, these extractives deplete over time with exposure to UV radiation and water. Once depleted, Eastern White Cedar is not significantly more resistant than other softwoods of comparable density.
The practical implication: rot risk in cedar siding is low when the finish is intact and the surface is clean, and increases progressively as surface protection degrades. Areas where finish has failed, checks have opened, or moisture collects — joints, butt ends, areas behind dense plantings — are where rot typically initiates.
Visual Indicators
Most early-stage rot cannot be identified visually. The following visual cues warrant closer physical investigation, but their absence does not rule out decay:
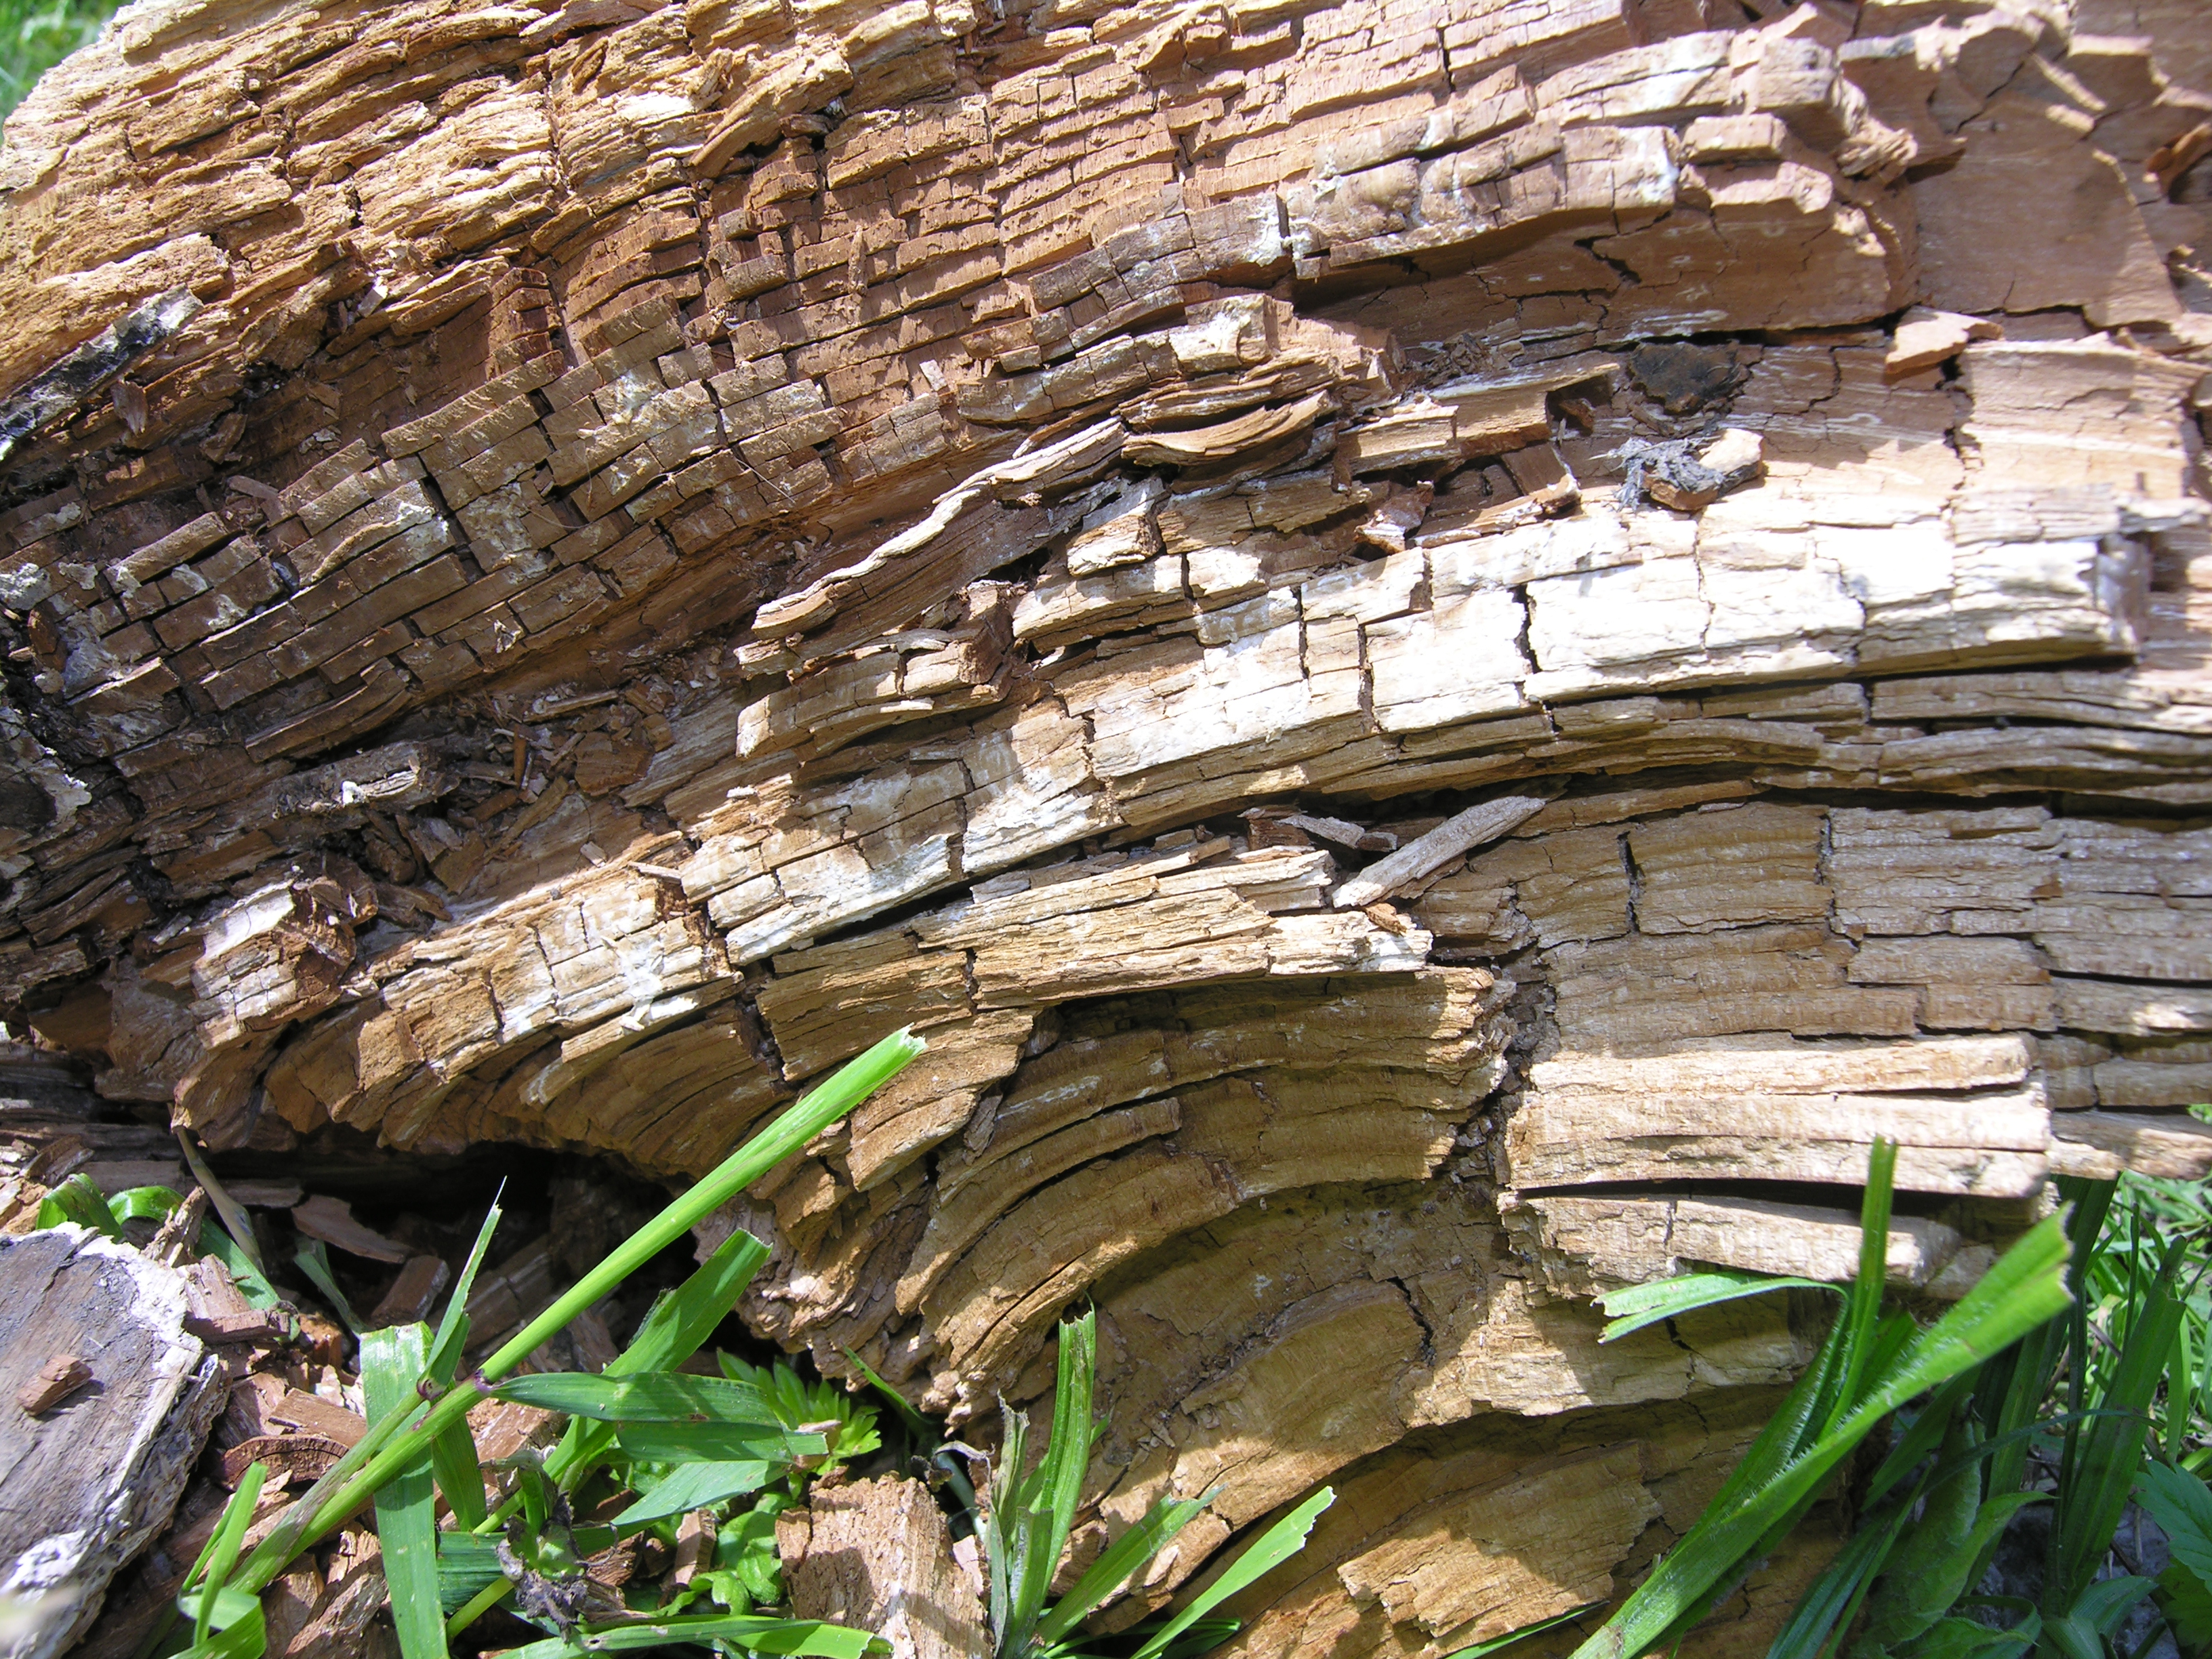
- Darkened or discolored wood. A brownish or grayish discoloration beyond uniform weathering, particularly in isolated patches, may indicate active moisture retention or early fungal activity below the surface.
- Soft-looking or slightly sunken surface. In moderate decay, the wood surface may appear slightly compressed or indented relative to adjacent boards. This is most visible when viewed obliquely in raking light.
- Staining around fasteners. Dark streaks radiating from nails or screws, particularly on otherwise sound-looking boards, can indicate that moisture is entering around the fastener shaft and beginning to promote decay internally.
- Paint or stain bubbling. Film finishes that blister or peel in localized areas without UV-pattern consistency often indicate elevated moisture content beneath — which may be related to rot or to a water infiltration pathway rather than the rot itself.
- Fruiting bodies. Visible fungal mushrooms, brackets, or powdery surface growth are signs of advanced decay and are uncommon on maintained siding; their presence indicates a serious problem requiring immediate professional assessment.
Physical Probing Technique
The primary field method for detecting early-stage rot in cedar siding is mechanical probing with a sharp awl or pick. This is the same technique used in the wood preservation industry and by experienced building inspectors.
-
Select a probe tool
A standard awl, ice pick, or dedicated rot probe (available at building supply stores) works well. The tip should be sharp enough to penetrate sound wood with moderate pressure but not so sharp as to make reading resistance difficult.
-
Establish a baseline on sound wood
Begin by probing a section of siding you believe to be in good condition — typically a well-protected, mid-height section. Apply moderate, consistent pressure. In sound Eastern White Cedar, the awl tip will require noticeable resistance to penetrate and will leave a small, clean entry point. The wood will feel firm throughout the probe depth.
-
Probe suspect areas systematically
Apply the same pressure to suspect areas — joints, butt ends, areas with discoloration, and zones near windowsills or flashings. If the awl sinks with notably less resistance than the baseline, or if it penetrates more than 4–6mm without resistance, the area warrants investigation. A crumbling or spongy texture when the awl is withdrawn is a clear indicator of active decay.
-
Test at multiple depths and positions
Rot often begins in the back face of a board (against the weather-resistant barrier or sheathing) rather than the exposed face. Test at the board's lower edge near butt joints and at the sides of boards adjacent to trim, where end grain is often exposed and finish application is incomplete.
-
Mark and document
Mark any boards with soft areas using chalk or a removable marking method. Note the location (height from grade, which wall face, distance from corners or windows) to guide repair decisions or communicate findings to a contractor.
Eastern White Cedar vs. Western Red Cedar — Probing Differences
Eastern White Cedar is softer than Western Red Cedar. Its baseline probe resistance is lower, which means the threshold for concern at a given probe depth is also lower. When probing Eastern White Cedar, the relevant assessment is not the absolute depth of penetration but the change in resistance relative to a sound board of the same species on the same building.
Moisture Meter Use
Pin-type wood moisture meters provide a quantitative complement to awl probing. They measure electrical resistance between two pins driven into the wood; resistance decreases as moisture content increases. Most meters display a percentage reading that corresponds to wood moisture content by weight.
For context on readings:
- Below 15%: Generally considered dry; very low fungal risk.
- 15–19%: Elevated moisture; monitor and assess for ventilation or infiltration sources.
- 20–28%: High moisture content; fungal activity can begin at the upper end of this range. Identify and address the moisture source.
- Above 28%: Active moisture intrusion or decay likely. Physical probing of the area is indicated.
Moisture meters should be used on dry surface wood — not immediately after rain or washing. They measure conditions at pin depth, not through the full board thickness. A dry surface reading does not rule out elevated moisture at the back face of thick siding against a wet substrate.
Pin-type meters suitable for site use in Canadian conditions are widely available from building supply retailers. Manufacturers including Delmhorst and General Tools produce models commonly used for wood moisture assessment. Check calibration using the species correction factors specified in the meter's manual — standard meters are often calibrated for Douglas fir and require correction for Eastern White Cedar.
High-Risk Locations
Inspection time is most productively focused on locations where moisture accumulation and end grain exposure are most likely:
| Location | Risk Factor | What to Check |
|---|---|---|
| Siding butt ends at trim intersections | Exposed end grain absorbs moisture readily | Probe end grain and adjacent board faces; check caulk integrity |
| Windowsill and head flashing zones | Faulty flashing or sealant allows water behind siding | Check siding below sills; probe from below windowsill trim |
| Siding base within 200mm of grade | Soil splash, standing water, snowmelt saturation | Probe bottom 2–3 courses; check clearance from soil |
| Behind downspout splash zones | Directed water flow onto siding during rain events | Extend splash blocks; probe siding in splash impact zone |
| North-facing walls under dense plantings | Limited drying, airborne mold, physical contact with plants | Trim plantings; probe and moisture-test lower siding courses |
| Around penetrations (pipes, vents, electrical) | Incomplete sealing allows water entry and ice damming | Check sealant; probe siding immediately adjacent to penetrations |
Assessing Severity
Once soft areas have been located, the key question is how far the decay extends and whether it has reached the building envelope beneath the siding.
- Surface-only decay (confined to face of board): The most common presentation. If the back face of the board and the weather-resistant barrier beneath are dry and unaffected, the board can often be replaced in isolation without opening the wall cavity.
- Full-board-depth decay: When probing from the front face produces soft readings throughout, and moisture readings are elevated, the decay likely extends to the back of the board. The adjacent sheathing and weather barrier should be assessed after the board is removed.
- Sheathing or framing involvement: This requires professional assessment. Indicators include softness at the back of multiple adjacent boards, visible moisture staining at interior wall surfaces, or elevated moisture readings at multiple siding elevations in the same zone. This is beyond the scope of homeowner maintenance and requires a licensed contractor or building inspector to assess the extent of structural involvement.
When to Repair vs. Replace
The decision between consolidant treatment (applying an epoxy wood hardener to stabilize early decay) and full board replacement depends on the extent and depth of decay and the intended maintenance horizon.
Epoxy consolidants — products like those in the Tim-Bor or LiquidWood systems — can stabilize localized surface decay and restore probe resistance to treated areas. They are appropriate for small isolated areas where full board replacement would be disproportionate, particularly in historically significant or custom-milled profiles that are difficult to source as replacements.
For standard-dimension siding in wide areas of decay, board replacement is generally the more reliable approach. Cedar siding boards are relatively inexpensive; the labour cost of replacement is similar to consolidant treatment for the same area, and replacement removes the decay entirely rather than arresting it.
Any replacement boards should be back-primed before installation. This means applying finish to the back face and all cut edges before the board is nailed in place — the step most often skipped during original installation and the primary reason moisture infiltration begins at the back face.
For details on the cleaning process that typically precedes a rot inspection in the spring maintenance cycle, see Annual Cedar Siding Cleaning Schedule for Canadian Climates. For guidance on what finish to apply after replacement boards are installed and cleaned, see Choosing UV-Stable Stains for Eastern White Cedar Siding.